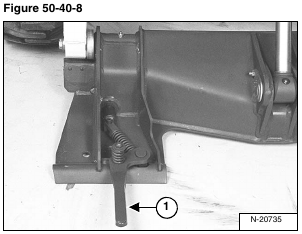
Use the following procedure to remove and install the Bob-Tach lever (Item 1) [Figure 50-40-8], spring and wedge.
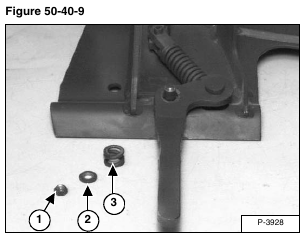
Remove the lever mounting bolt and nut (Item 1), washer (Item 2) and spring (Item 3) [Figure 50-40-9].
Installation: Tighten the nut to 25 – 28 ft.-lb. (34 – 38 N•m) torque.
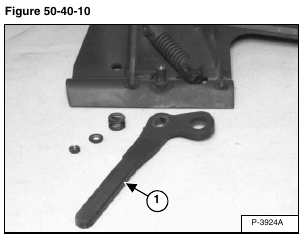
Remove the Bob-Tach lever (Item 1) [Figure 50-40-10].
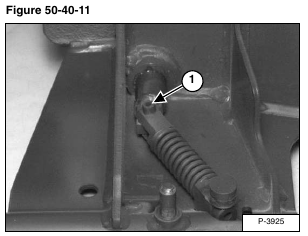
Use a punch and hammer, remove the roll pin (Item 1) [Figure 50-40-11] from the Bob-Tach wedge and spring, bolt and clevis assembly.
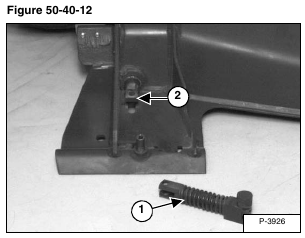
Remove the spring, bolt and clevis assembly (Item 1) [Figure 50-40-12].
Remove the wedge (Item 2) [Figure 50-40-12] from the Bob-Tach frame.
Always replace bent or broken wedges.
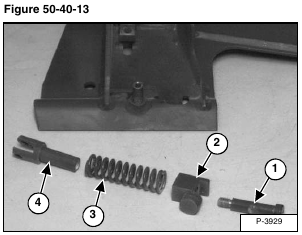
If the bolt (Item 1), handle pivot (Item 2), spring (Item 3) or clevis (Item 4) are damaged, put the assembly in the vise. Loosen and remove the bolt (Item 1) [Figure 50-40-13] with a 5/16 inch allen wrench.
Replace the worn or damaged parts as needed.
Reverse the removal procedure to install the Bob-Tach Lever and Wedge.
