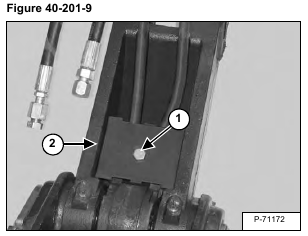
Remove the bolt (Item 1) and nut. Remove the cover (Item 2) [Figure 40-201-9].
Remove the bolt (Item 1) [Figure 40-201-10], washer and spacer.
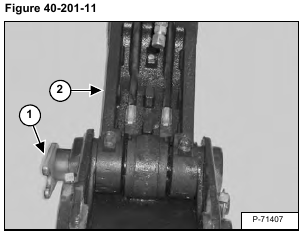
Remove the pin (Item 1) and the bucket link (Item 2) [Figure 40-201-11].
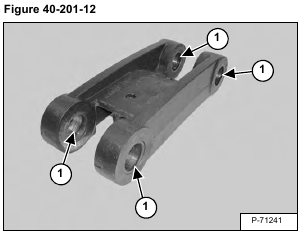
Remove the dust seals and bushings (Item 1) [Figure 40-201-12] from the bucket link.
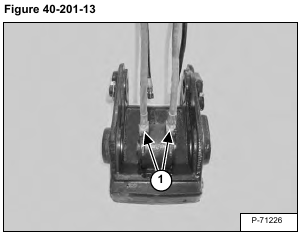
Remove the two hydraulic hoses (Item 1) [Figure 40-201-13] from the swivel ends.
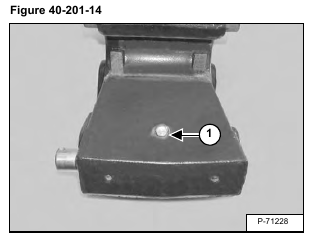
Remove the bolt (Item 1) [Figure 40-201-14].
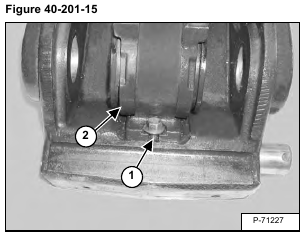
Remove the bolt (Item 1), nut, and the swivel assembly (Item 2) [Figure 40-201-15].
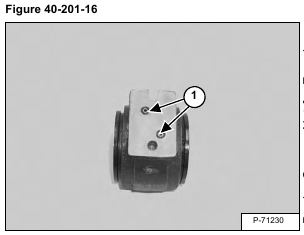
Remove the O-rings (Item 1) [Figure 40-201-16] from the swivel assembly.
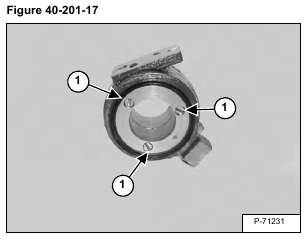
Remove the screws (Item 1) [Figure 40-201-17] and nuts from the swivel assembly.
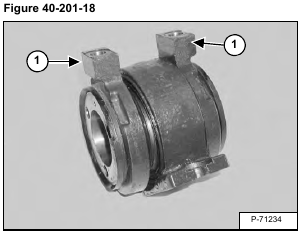
Remove the two swivel ends (Item 1) [Figure 40-201-18].
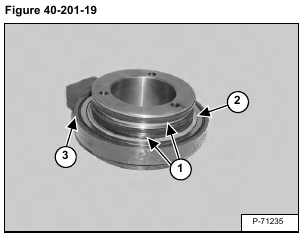
Remove the seals (Item 1), wear ring (Item 2) and the O-ring (Item 3) [Figure 40-201-19] from the swivel end.
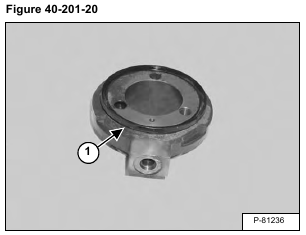
Remove the dust seal (Item 1) [Figure 40-201-20] (both swivel ends.)
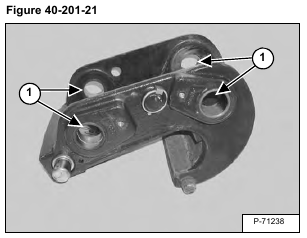
Remove the four bushings (Item 1) [Figure 40-201-21].
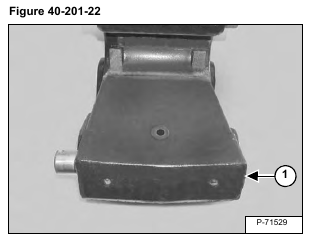
Apply inward pressure on the piston (Item 1) [Figure 40-201-22].
Remove the retaining ring (Item 1) [Figure 40-201-23].
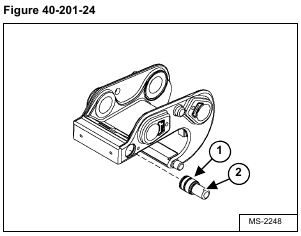
Remove the piston head (Item 1) and the piston (Item 2) [Figure 40-201-24].
Repeat [Figure 40-201-22] through [Figure 40-201-24] to remove the piston head and piston from the opposite side of the X-change.
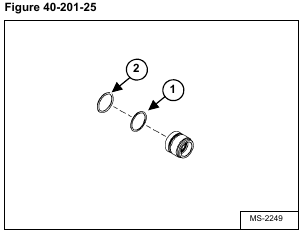
Remove the back-up ring (Item 1) and the O-ring (Item 2) [Figure 40-201-25] from the piston head.
Remove the two pin seals (Item 1) [Figure 40-201-26] from inside the piston head.
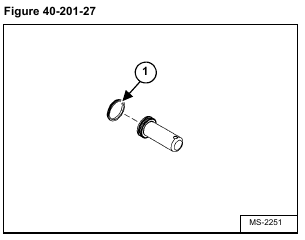
Remove the piston seal (Item 1) [Figure 40-201-27] from the piston.
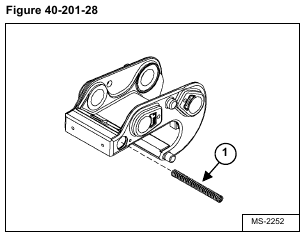
Remove the compression spring (Item 1) [Figure 40-201-28].
