Clean the diverter block to remove dirt before disassembly. Block ports are labeled for correct assembly.
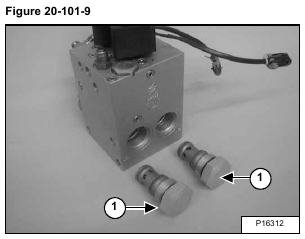
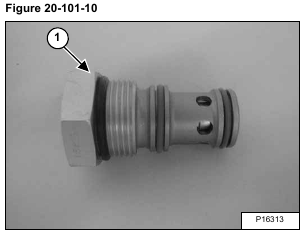
Remove the logic cartridge valves (Item 1) [Figure 20-101-9] & [Figure 20-101-10] from block ports LC1 and LC2.
Installation: Put oil on O-rings and back-up washers. Tighten to 60-65 ft.-lbs. (81,4-88 Nm) torque.
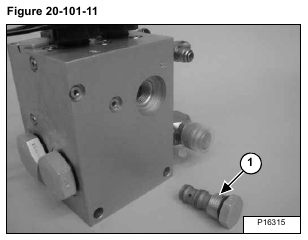
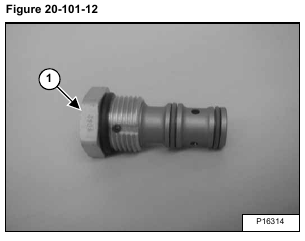
Remove the shuttle check valve (Item 1) [Figure 20-101-11] & [Figure 20-101-12]from SH1 port.
Installation: Put oil on O-rings and back-up washers.
Tighten to 30-35 ft.-lbs. (40,7-47,5 Nm) torque.
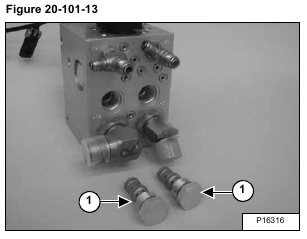
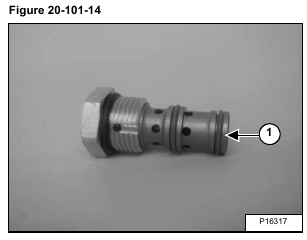
Remove the pilot check valves (Item 1) [Figure 20-101-13] & [Figure 20-101-14] from block ports PC1 and PC2.
Installation: Put oil on O-ring and back-up washers.
Tighten to 30-35 ft.-lbs. (40,7-47,5 Nm) torque.
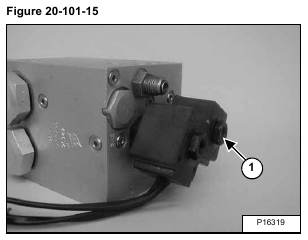
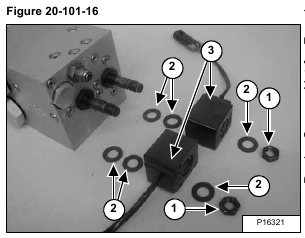
Remove the nuts (Item 1) [Figure 20-101-15] & [Figure 20-101-16] from the solenoid valve.
Installation: Tighten the nuts to 50-55 in.-lbs. (5,6-6,2 Nm) torque.
Remove the seal washers (Item 2) and solenoid valve coils (Item 3) [Figure 20-101-16].
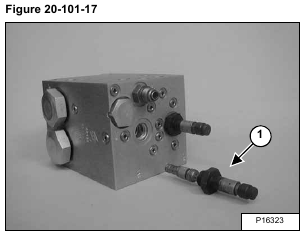
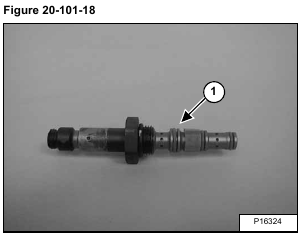
Remove the diverter control solenoid valve (Item 1) [Figure 20-101-17] & [Figure 20-101-18] from the SV1 port.
Installation: Put oil on O-rings and back-up washers.
Tighten to 12-15 ft.-lbs. (16,3-20,3 Nm) torque.
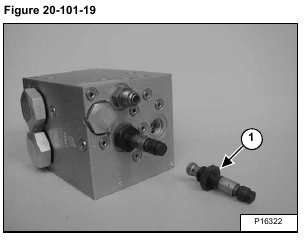
Remove the pressure relieving solenoid valve (Item 1) [Figure 20-101-19] & [Figure 20-101-20] from the SV2 port.
Installation: Put oil on O-rings and back-up washers.
Tighten to 12-15 ft.-lbs. (16,3-20,3 Nm) torque.
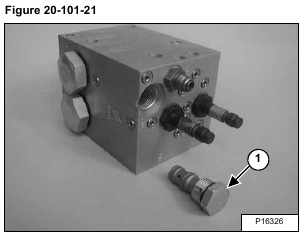
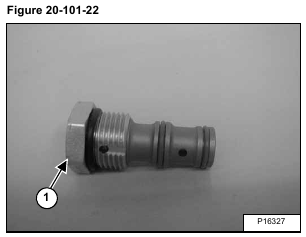
Remove the shuttle check valve (Item 1) [Figure 20-101-21] & [Figure 20-101-22] from the SH2 port.
Installation: Put oil on O-ring and back-up washers.
Tighten to 30-35 ft.-lbs. (40,7-47,5 Nm) torque.
