Clean the area before installing the rubber molding.
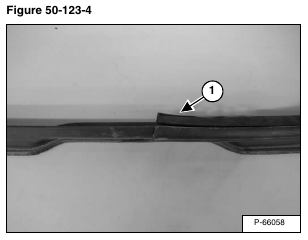
Install the rubber molding (Item 1) [Figure 50-123-4] around the edge of the front door frame starting at the bottom of the door frame.
If replacing the rubber molding (Item 1) [Figure 50-123-4] cut off the excess molding.
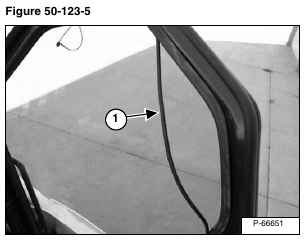
Apply liquid soap on the rubber cord to make installation easier. Install the rubber cord (Item 1) [Figure 50-123-5] into the molding on the inside of the operator cab.
Apply liquid soap in the rubber molding to make installation easier.
Install the window from the outside of the door frame.
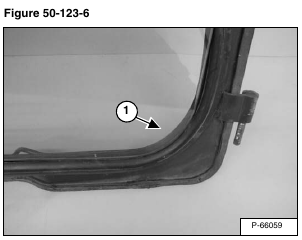
Install a lower corner of the rear window (Item 1) [Figure 50-123-6] into the corner of the molding.
Align the other lower corner of the window in the molding. Work the window downward until the window is fully
seated in the lower portion of the molding.
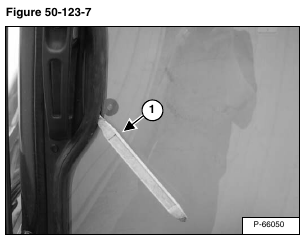
Use a plastic stick (Item 1) [Figure 50-123-7] under the molding lip to guide the window into the molding groove.
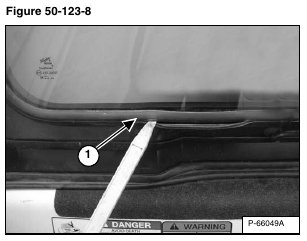
Use the plastic stick (Item 1) [Figure 50-123-8] to position the locking tab into the groove to secure the window in the molding.
Tapping the window corners will help seat the window in the molding.
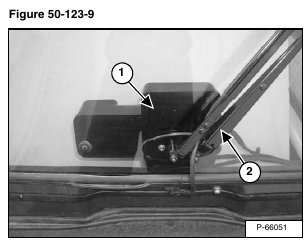
Install the wiper motor (Item 1) and wiper arm assembly (Item 2) [Figure 50-123-9].
