Remove the attachment.
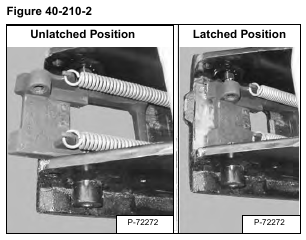
The quick coupler must be in the latched position [Figure 40-210-2] for disassembly.
Inspect the quick coupler to make sure the latch is in the latched position.
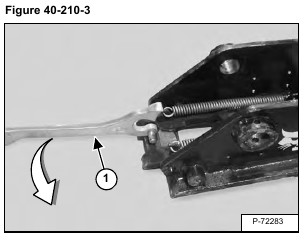
If the latch is in the unlatched position, see [Figure 40-210-3] for additional information.
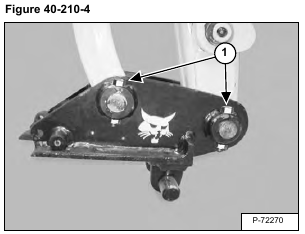
If the latch is in the latched position, proceed to [Figure 40-210-4].
Install the tool (Item 1) [Figure 40-210-3] in the quick coupler as shown. Push down on the tool until the latch snaps closed.
Remove the bolts (Item 1) [Figure 40-210-4] and nuts.
Installation: Align the holes of the connecting pins with the holes in the coupler. Install the two bolts (Item 1) [Figure 40-210-4] and nuts. Tighten the nuts securely against the couple.
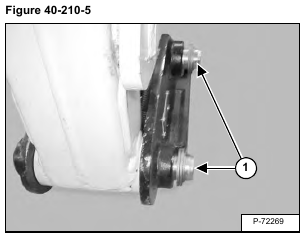
Remove pins (Item 1) [Figure 40-210-5].
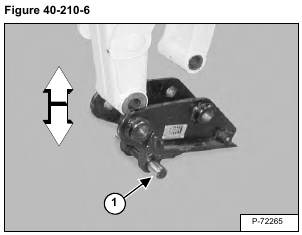
Raise the arm and bucket link until the coupler is free [Figure 40-210-6].
Installation: Align the arm and bucket link with the coupler [Figure 40-210-6]. Lower the arm and bucket link into the coupler.
NOTE: Place the coupler on the ground with the mounting pin (Item 1) [Figure 40-210-6] facing towards the excavator.
