Lower the work group to the ground.
Stop the engine.
With the engine off, turn the start key to the ON position and move both hydraulic control levers to relieve hydraulic pressure.
Remove the hydraulic reservoir. (See Removal And Installation on Page 20-140-1.)
Remove the hydraulic filter. (See Removing And Replacing Hydraulic Fluid on Page 10-130-5.)
Remove the right upperstructure cover. (See Removal And Installation on Page 40-80-1.)
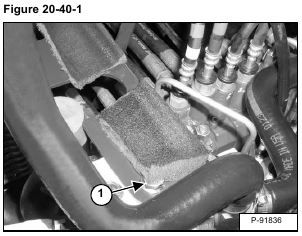
Remove the bolt (Item 1) [Figure 20-40-1].
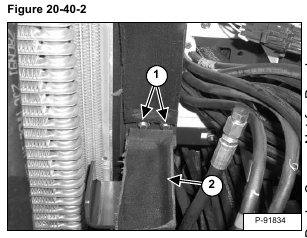
Remove the two nuts (Item 1) and reservoir support (Item 2) [Figure 20-40-2].
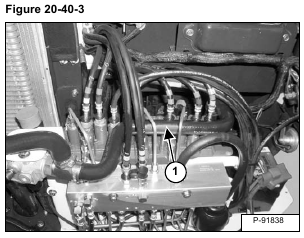
Remove the return hose (Item 1) [Figure 20-40-3].
Mark all tubelines and hoses for proper installation.
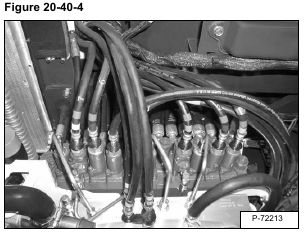
Remove the pilot pressure hoses and tubelines from the valve [Figure 20-40-4].
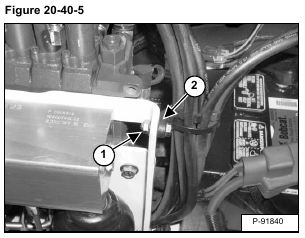
Remove the nut (Item 1) and reposition the hose clamp (Item 2) [Figure 20-40-5].
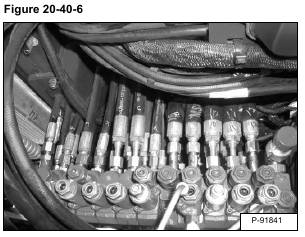
Remove the high pressure hoses [Figure 20-40-6].
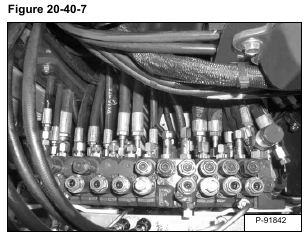
Continue to remove the high pressure hoses [Figure 20-40-7].
Remove the pilot pressure hoses and tubelines from the valve [Figure 20-40-8].
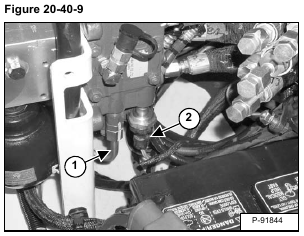
Remove the tubeline (Item 1). Disconnect the wire harness (Item 2) [Figure 20-40-9].
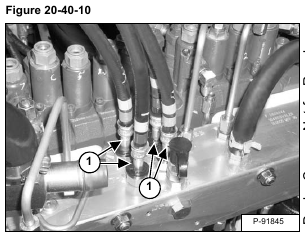
Remove the four hoses (Item 1) [Figure 20-40-10] from the top of the manifold. Reposition the hoses to provide clearance to remove the valve.
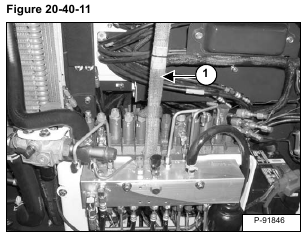
Install a sling (Item 1) [Figure 20-40-11] on the valve.
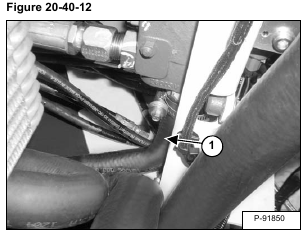
Remove the inlet hose (Item 1) [Figure 20-40-12].
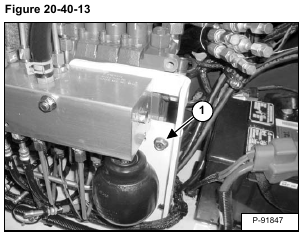
Remove the bolt (Item 1) [Figure 20-40-13].
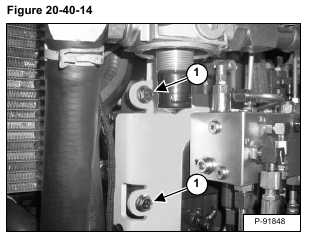
Remove the bolts (Item 1) [Figure 20-40-14].
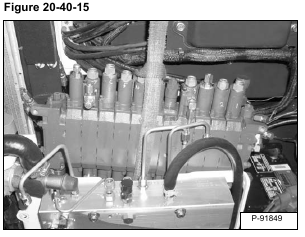
Remove the valve from the excavator [Figure 20-40-15].
