Disconnect the negative ( – ) cable on the battery. (See Removal And Installation on Page 50-20-2.)
Drain the hydraulic reservoir. (See Removing And Replacing Hydraulic Fluid on Page 10-130-5.)
Drain the radiator. (See Removing And Replacing Coolant on Page 10-100-3.)
Remove the muffler. (See Removal And Installation on Page 60-30-1.)
Remove the air cleaner. (See Removal And Installation on Page 60-40-1.)
Remove the tailgate. (See Removal And Installation on Page 40-190-1.)
Remove the starter. (See Removal And Installation on Page 50-40-2.)
Remove the hydraulic pump. (See Removal And Installation on Page 20-50-11.)
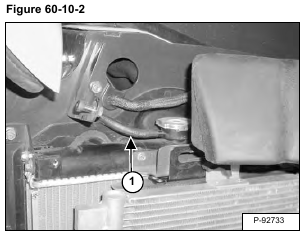
Remove the radiator overflow hose (Item 1) [Figure 60-10-2].
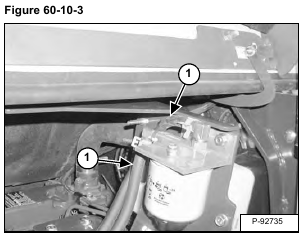
Remove the fuel lines (Item 1) [Figure 60-10-3] from the filter.
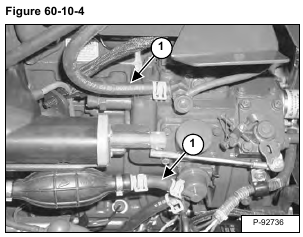
Remove the fuel lines (Item 1) [Figure 60-10-4] from the fuel pump and fuel injection pump.
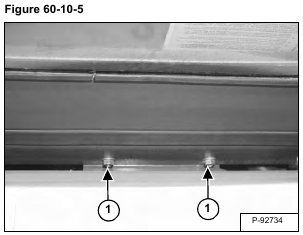
Remove the nuts (Item 1) [Figure 60-10-5].
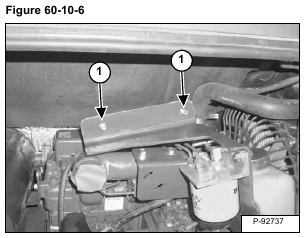
Lower the bracket and remove the bolts (Item 1) [Figure 60-10-6].
Remove the bracket.
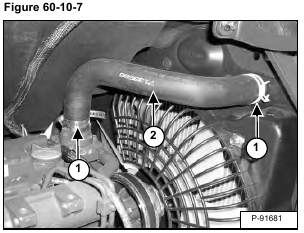
Loosen the two clamps (Item 1) and remove the hose (Item 2) [Figure 60-10-7].
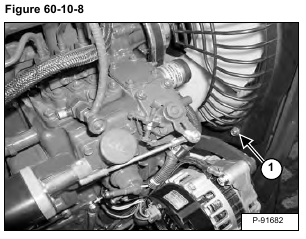
Remove the bolt (Item 1) [Figure 60-10-8].
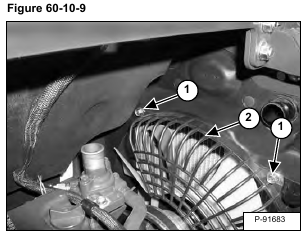
Remove the two bolts (Item 1) and fan guard (Item 2) [Figure 60-10-9].
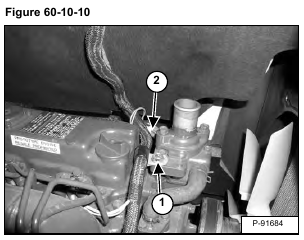
Remove the bolt (Item 1) and disconnect the wire harness (Item 2) [Figure 60-10-10] from the coolant temperature sensor.
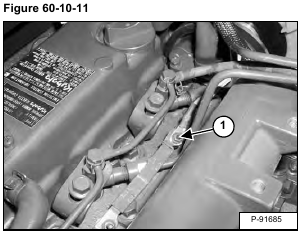
Remove the wire (Item 1) [Figure 60-10-11] from the glow plugs.
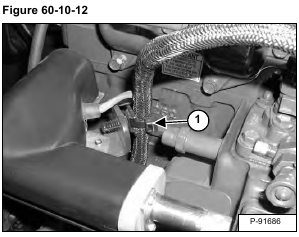
Remove the tie strap (Item 1) [Figure 60-10-12].
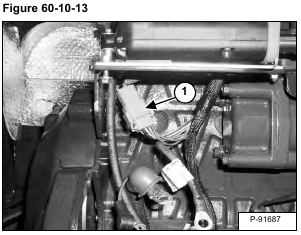
[Figure 60-10-13] Disconnect the harness (Item 1) from the engine speed control actuator.
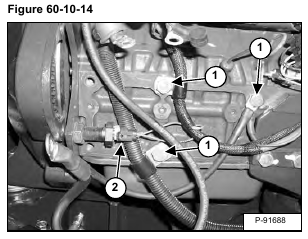
Remove the three bolts (Item 1). Remove the harness (Item 2) [Figure 60-10-14] from the engine speed sensor.
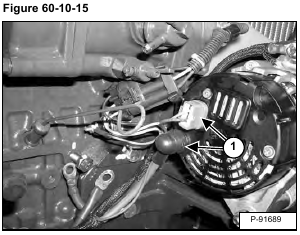
Remove the wires (Item 1) [Figure 60-10-15] from the alternator.
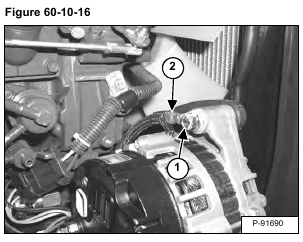
Remove the bolt (Item 1) and ground cable (Item 2) [Figure 60-10-16].
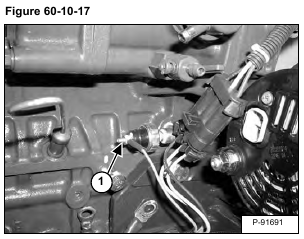
Remove the wire (Item 1) [Figure 60-10-17] from the oil pressure sensor.
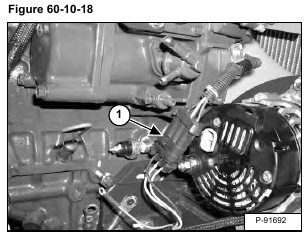
Disconnect the harness (Item 1) [Figure 60-10-18] from the fuel shut off solenoid.
Loosen the clamp (Item 1) and remove the fuel return line (Item 2) [Figure 60-10-19].
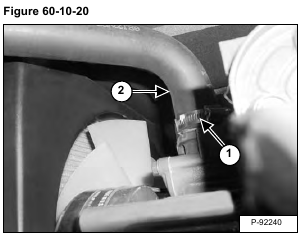
Loosen the clamp (Item 1) and remove the lower radiator hose (Item 2) [Figure 60-10-20].
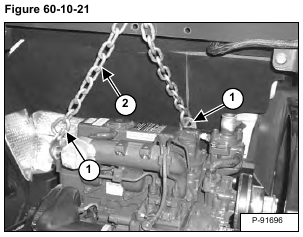
Attach lifting brackets (Item 1) and chain (Item 2) [Figure 60-10-21] to a hoist.
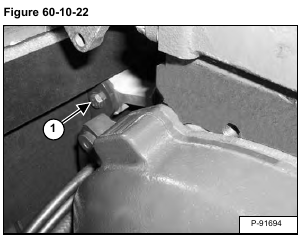
Remove the bolt (Item 1) [Figure 60-10-22] from the front motor mount.
Installation: Tighten the bolt to 105 – 115 N•m (78 – 85 ft-lb) torque.
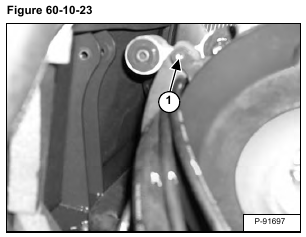
Remove the bolts (Item 1) [Figure 60-10-23] from the hose guide.
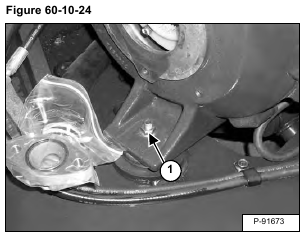
Remove the bolt (Item 1) [Figure 60-10-24] from the left motor mount.
Installation: Tighten the bolt to 105 – 115 N•m (78 – 85 ft-lb) torque.
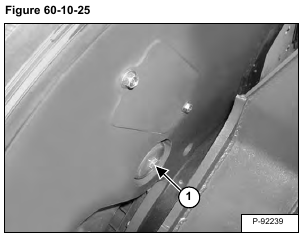
Remove the bolt (Item 1) [Figure 60-10-25] from the right motor mount.
Installation: Tighten the bolt to 105 – 115 N•m (78 – 85 ft-lb) torque.
Remove the engine.
