Lift and block the loader. (See LIFTING AND BLOCKING THE LOADER on Page 10-10-1.)
Raise the lift arms and install an approved lift arm support device. (See Installing Lift Arm Support Device
on Page 10-20-1.)
Stop the engine. Raise the seat bar.
Raise the operator cab. (See Raising The Operator Cab on Page 10-30-1.)
Remove the control panel. (See Removal and Installation on Page 50-100-1.)
Thoroughly clean the area around the control valve.
Drain the hydraulic reservoir. (See Replacing Hydraulic Fluid on Page 10-120-3.)
Open the rear door.
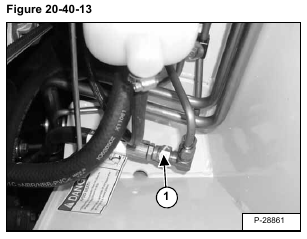
The fixed end main valve hose assembly (Item 1) [Figure 20-40-13] is connected to a fixed end fitting on the
control valve. The hose is routed to the upright where the hose is connected to a tee fitting that feeds the base end
of both lift cylinders. The hose can only be removed by first removing it from the tee fitting located at the
rear of the loader.
Disconnect hose (Item 1) [Figure 20-40-13] at fitting.
Mark all tubelines and hoses for correct installation.
Cap all hoses and fittings.
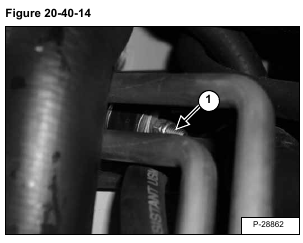
Remove the tubeline clamp (Item 1) [Figure 20-40-14] holding the fixed end main valve hose assembly. Clamp
is located behind fuel fill tube.
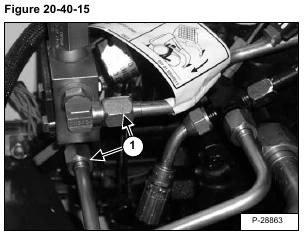
Disconnect and remove the two tubelines (Item 1) [Figure 20-40-15] at lift arm by-pass valve.
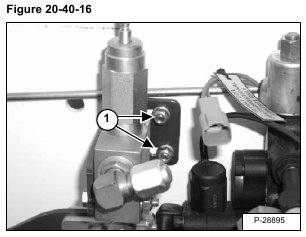
Remove the two mounting bolts and nuts (Item 1) [Figure 20-40-16] from the lift arm by-pass mount.
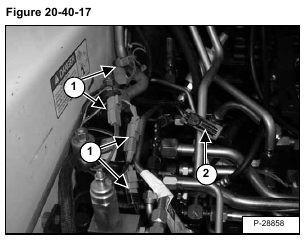
Disconnect the harness connector (Item 1) from auxiliary solenoids connectors. Disconnect the harness connector
(Item 2) [Figure 20-40-17] from BICSTM valve solenoid connector.
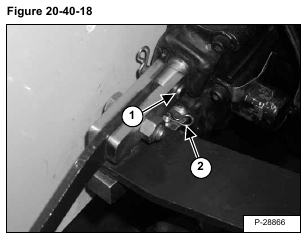
Remove the clevis pin (Item 1) [Figure 20-40-18] from the tilt spool linkage.
Remove the clevis pin (Item 2) [Figure 20-40-18] from the lift spool linkage.
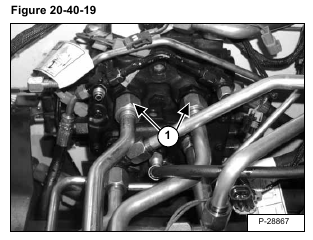
Disconnect and remove the auxiliary tubelines (Item 1) [Figure 20-40-19] from the control valve.
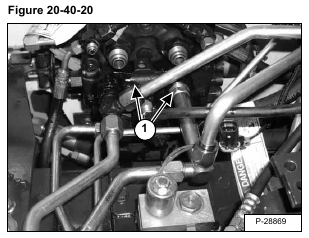
Disconnect the tilt tubelines (Item 1) [Figure 20-40-20] from the control valve.
Disconnect the tubelines (Item 1) [Figure 20-40-21] from the control valve and the C & D ports on the bucket
position valve. (If so equipped.)
Disconnect the tubelines (Item 2) [Figure 20-40-21] from the control valve.
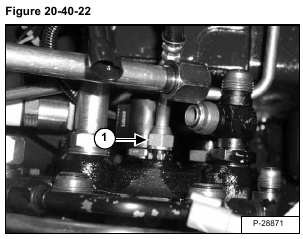
Disconnect drain hose (Item 1) [Figure 20-40-22].
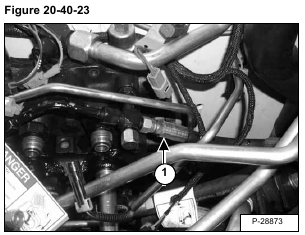
Disconnect the control valve drain hose (Item 1) [Figure 20-40-23].
Disconnect the drive motor case drain hose (Item 1) [Figure 20-40-24].
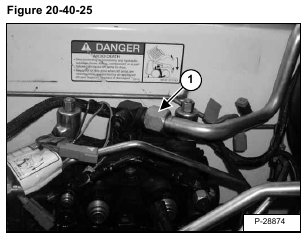
Disconnect the tubeline from control valve (Item 1) [Figure 20-40-25].
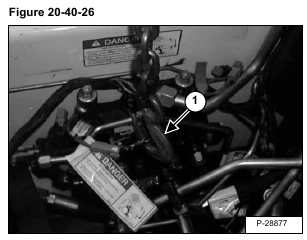
Install the chain hoist (Item 1) [Figure 20-40-26] as shown.
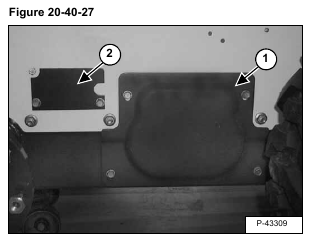
Remove the access covers (Items 1 & 2) [Figure 20-40-27] on the right side of the loader frame.
Disconnect the inlet hose from the control valve through the access slot [Figure 20-40-28].
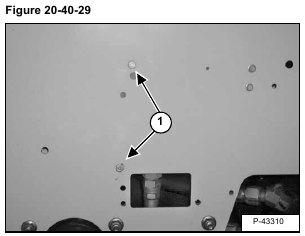
Remove the two control valve mounting bolts/nuts (Item 1) [Figure 20-40-29] from the loader frame.
Installation: Tighten the mounting bolt & nut to 18-20 ft.-lbs. (24-27 Nm) torque.
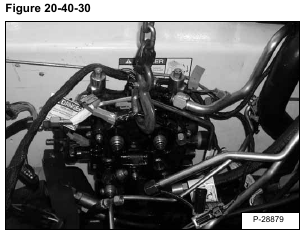
Lower the chain hoist and valve to allow clearance between valve spools and tubelines [Figure 20-40-30].
Rotate the valve upward until the valve spools are above the tubelines.
Reverse the removal procedure to install the control valve.
